Digital Art Tools for Beginners: Simple Workflow & Exercises
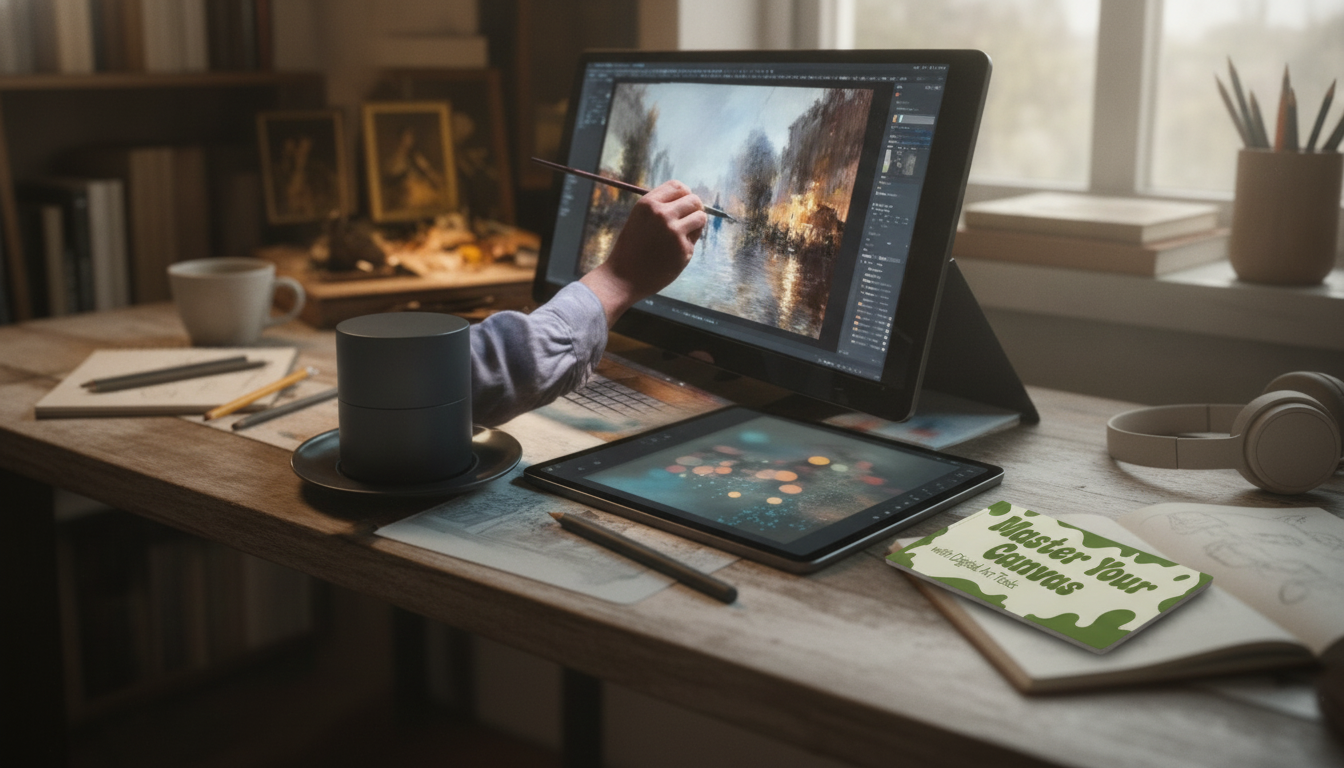
Master Your Canvas with Digital Art Tools: A Beginner-Friendly Path from First Brush to Finished Piece
Starting digital art can feel like getting dropped into a cockpit: unfamiliar interfaces, endless brush presets, and file settings that sound more technical than creative. The good news is that beginners don’t need expensive gear or a huge tool collection to make progress. What helps most is understanding a few core tools, setting up a simple workflow you can repeat, and practicing with exercises that build confidence quickly.
What Makes Digital Art Feel Hard at the Beginning (and What Actually Fixes It)
Digital art often feels difficult for one main reason: there are too many options at once. Brushes, layers, blending modes, shortcuts, and panels can create instant decision fatigue. It’s also common to expect traditional drawing skills to transfer 1:1—then feel frustrated when lines look different, blending behaves oddly, or colors shift on screen.
Most early bottlenecks are practical, not “talent” problems: tablet setup quirks, too much stabilization (or none), shaky line confidence, and choosing colors without a plan. The fastest fix is to use a repeatable workflow with a small tool set, so you spend more time making art and less time tinkering.
A beginner-friendly loop that works across most apps is: sketch → refine → value → color → polish. Repeating this process trains your eye and builds familiarity with tools naturally.
The Core Digital Art Tools Beginners Should Understand
Digital tools are powerful because they let you edit without starting over. That power becomes a distraction if everything is “on” at once. Start by learning what each tool is for and how they work together:
- Brush engine basics: size, opacity/flow, pressure sensitivity, spacing, and texture/grain. These settings shape how your strokes behave more than the brush “name.”
- Layers: keep sketch, line, flats, shadows, and highlights separated so edits are easy and safe.
- Selections and masks: get clean edges, recolor quickly, and adjust without damaging your base paint.
- Transform tools: scale, rotate, and warp to correct proportions early instead of redrawing everything.
- Blending and smudge: blend with intention; keep some edges crisp so forms stay readable.
| Tool | Best used for | Beginner tip |
|---|---|---|
| Brush + pressure settings | Lines, shading, texture | Start with 3 brushes: sketch, ink, soft shade |
| Layers | Organization and revisions | Name layers and group them (Sketch/Line/Color) |
| Masks | Non-destructive edits | Use layer masks instead of erasing whenever possible |
| Selection tools | Fast edits and clean shapes | Feather slightly for soft edges; keep hard edges for cel shading |
| Transform | Fixing composition/proportions | Adjust early; avoid heavy warps after rendering |
| Blending modes | Lighting and color effects | Use Multiply for shadows and Screen/Overlay for light—sparingly |
If you want a guided explanation of these tools in plain language (plus a workflow you can follow without guessing), Master Your Canvas with Digital Art Tools | Beginner-Friendly Ebook with Digital Art Tools Explained is designed as a practical reference while you practice.
A Simple Starter Workflow That Builds Skills Fast
A reliable workflow reduces overwhelm because you always know what to do next. Keep the steps simple and repeatable:
- Canvas setup: choose a practical size (around 2000–3000 px wide). Use a DPI that fits your goal; for digital sharing, the pixel dimensions matter most.
- Sketch: focus on gesture and big shapes. If the pose and silhouette read well, details get easier.
- Clean sketch or line: use stabilization lightly—just enough to help, not so much that every stroke feels delayed.
- Values first: set one clear light direction and make sure the subject is readable in grayscale before investing in color.
- Color pass: block local colors, then unify them with a subtle overlay/gradient-map style adjustment if your program supports it.
- Polish: control edges (hard vs. soft), add small highlights, and use limited texture to keep the focus where you want it.
To speed up painting without hunting menus, many artists rely on keyboard shortcuts. A comfortable mechanical keyboard setup can make repetition less fatiguing during long sessions; the Purple Double-Shot PBT Cherry Profile Keycap Set is a simple upgrade if you’re building a shortcut-heavy workspace.
Exercises That Make Digital Tools ‘Click’ (Low Pressure, High Progress)
Skill growth happens faster when practice is specific. These drills are short, repeatable, and directly tied to the tools you’ll use in real pieces:
Common Beginner Mistakes (and Quick Fixes That Save Hours)
Beginner-Friendly Guidance for Tool Setup and Confident Practice
For app-specific help, reputable documentation and tutorials can fill in gaps without guesswork, such as the Krita Manual or Adobe’s digital painting and drawing tutorials. If you share your work publicly, accessibility guidance like the WCAG overview can also help when presenting text, contrast, and visuals in a way more people can comfortably view.
Master Your Canvas with Digital Art Tools: What to Expect
FAQ
Do beginners need a drawing tablet to start digital art?
No. A tablet helps with pressure sensitivity and line control, but beginners can still learn tools and workflow using a mouse or a basic stylus—especially for simple studies and layer-based exercises.
How many brushes should a beginner use?
A small set works best: a sketch brush, an inking brush, a soft shading brush, and optionally one texture brush. Mastering a few predictable tools builds consistency much faster than constantly switching presets.
What settings matter most for clean lines and smooth shading?
Focus on your pressure curve, light stabilization, and controlling opacity/flow so strokes build gradually. Layers and masks also matter a lot because they keep edges clean and let you adjust without repainting.


Leave a comment